Manage currencies and locations
Add or switch off the currencies, countries, states and cities that Laramin offers in its forms and settings.
- Applies to
- Core 12.0 and later
- Who can do this
- Administrator, Platform owner
- Where
- Configurations › Master Settings
On this page
Before you start
-
Each list has its own permissions, with
list,view,create,edit,delete,restoreandremove:List Permission name Currency feature.core. currency. * Countries feature.core. country. * States feature.core. state. * Cities feature.core. city. * Countries, States and Cities also have
bulk_import, for importing from a CSV file, for examplefeature.. The standard Administrator role has it.core. country. bulk_import -
A new installation comes with a full set of currencies and countries, with their states and cities. Usually you only switch entries on or off, or correct them.
-
Currency and country pickers, such as Default Currency and Country, offer only entries whose Status is Active. Set one to Inactive to hide it without losing it. State pickers in the settings panels list a country's states whatever their status.
Add a currency
-
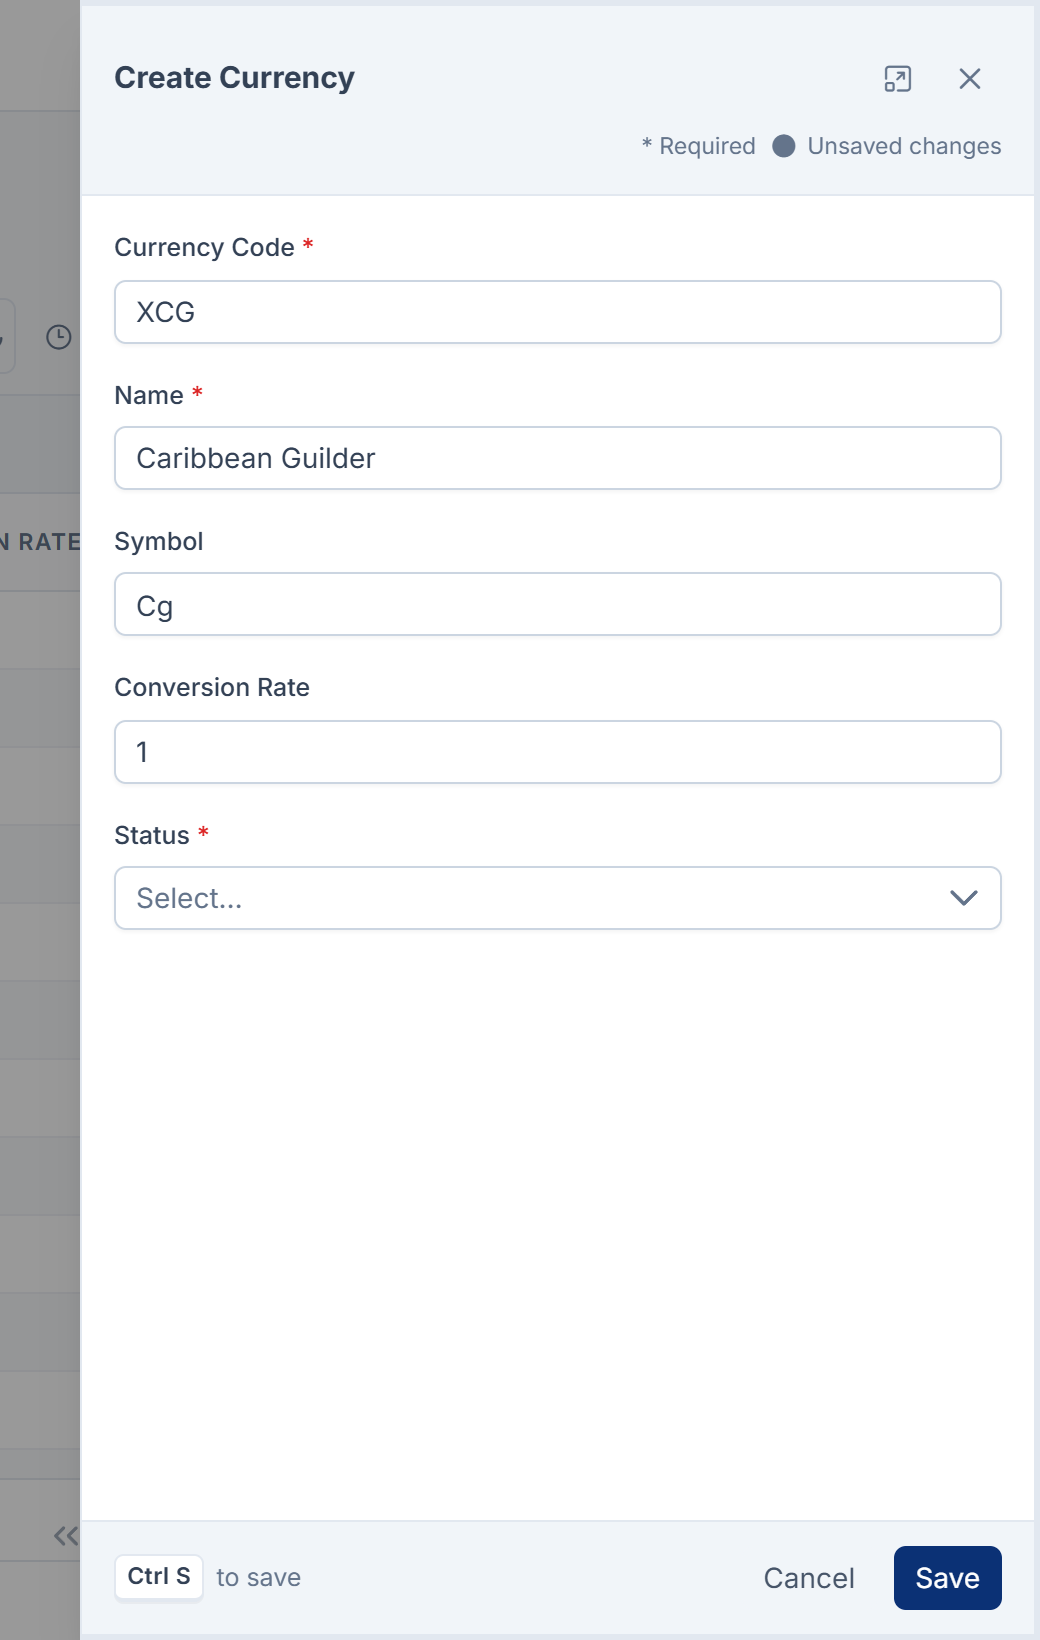
Open Configurations › Master Settings › Currency.
-
Select New Currency.
-
Enter a Currency Code, for example
AED. It must be unique, up to 10 characters, and you can't change it later. -
Enter a Name, and a Symbol of up to 10 characters.
-
Enter a Conversion Rate, a number of 0 or more. New installations set it to 1 for every currency. Nothing in Laramin uses the conversion rate, so amounts aren't converted between currencies. You can leave it at 1.
-
Set Status to Active.
-
Select Save.
To make it the installation's currency, choose it in Default Currency on the System panel. See System and company settings.
Add a country
-
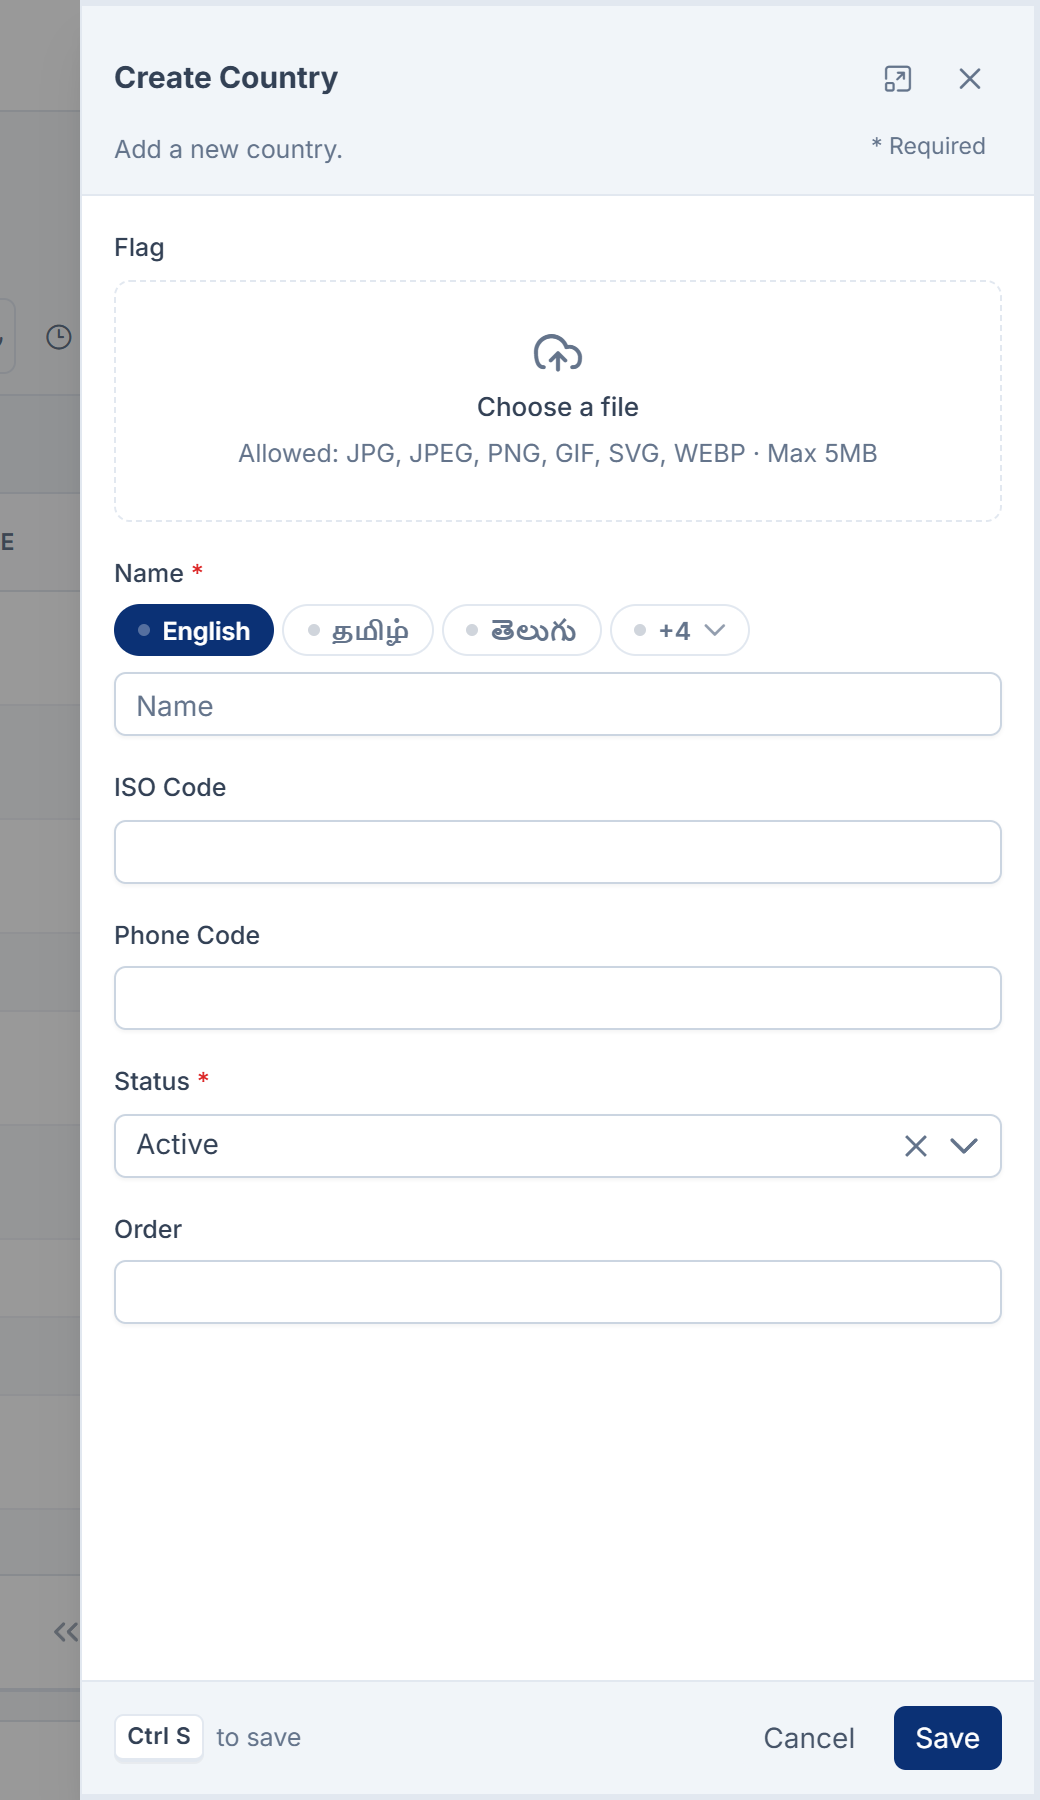
Open Configurations › Master Settings › Locations › Countries.
-
Select Create.
-
Enter a Name. You can enter it in each of your languages.
-
Optional: upload a Flag, and enter an ISO Code and a Phone Code of up to 10 characters each.
-
Set Status to Active, and an Order if you want to control where it sorts.
-
Select Save.
Add a state or a city
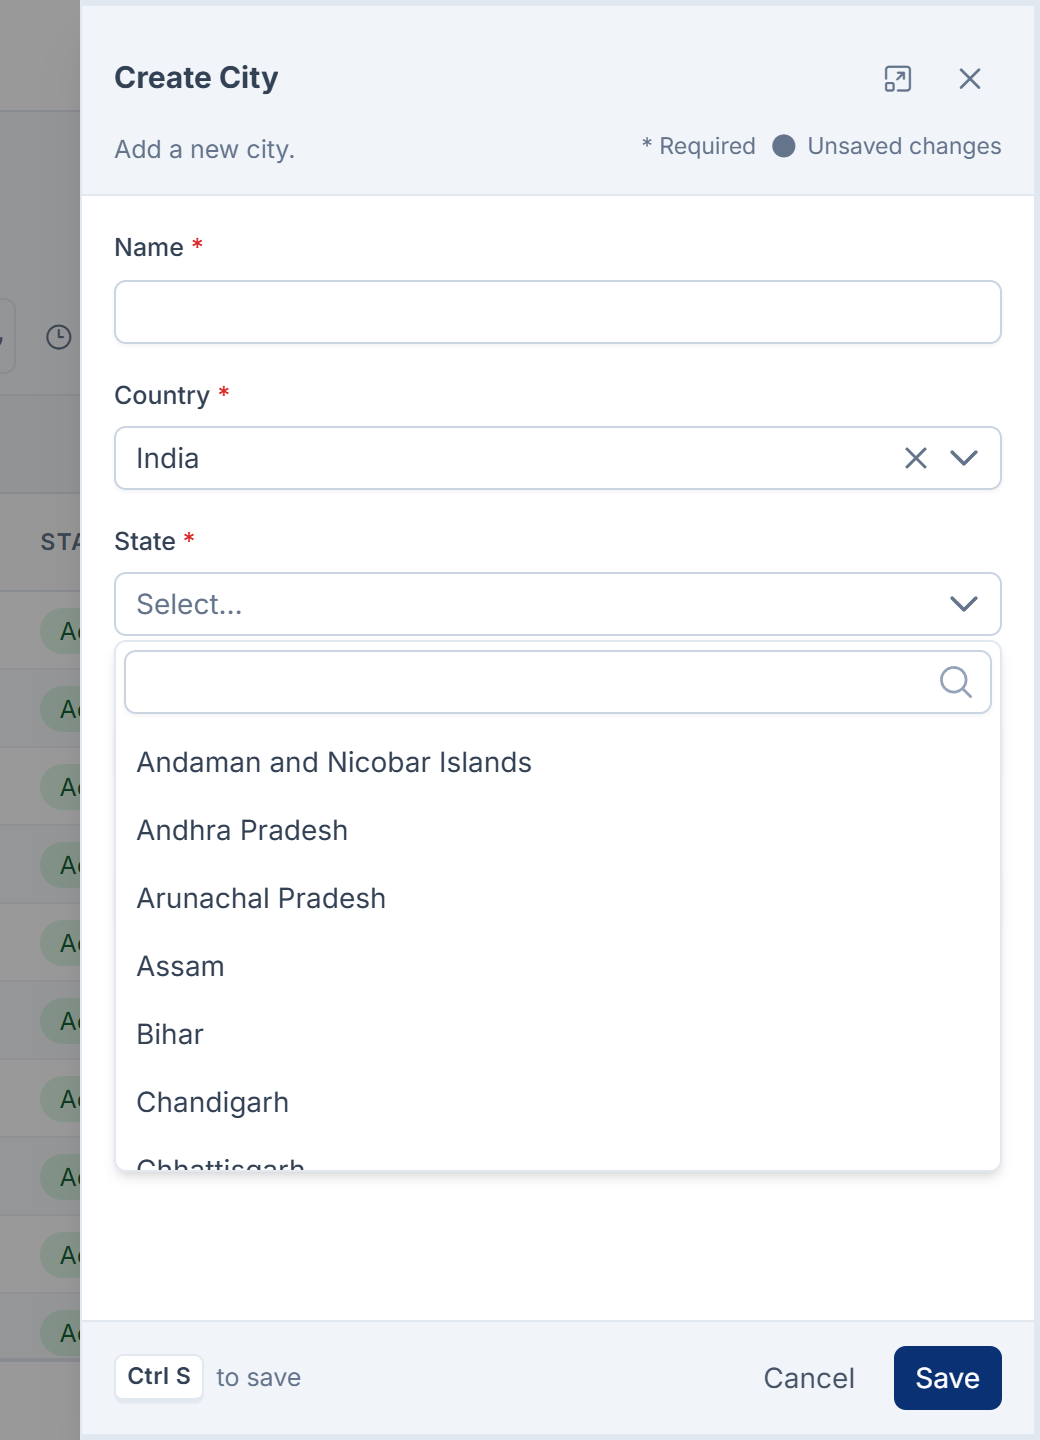
- Open Configurations › Master Settings › Locations › States or Cities.
- Select Create.
- Enter a Name.
- For a state, choose its Country. For a city, choose a Country first, then its State. Only active countries are offered.
- Set Status and, if you want, Order.
- Select Save.
Add many at once from a spreadsheet
On Countries, States or Cities, select Import CSV to add many entries from a CSV file. A state's file can name its country by ISO code or name, and a city's file its state by name. Import countries first, then states, then cities. See Import records from a CSV file.
Switch an entry off
- Open the list and find the entry. To find inactive ones, filter on Status.
- Select Edit on its row.
- Set Status to Inactive, then select Save.
Tip: Switching off is safer than deleting. An inactive entry is only left out of pickers. Nothing is removed, and you can switch it on again at any time.
What happens next
Deleted currencies, countries, states and cities go to the trash first. You can restore them from the list's Trashed view, or delete them for good. See Delete, restore and act on records in bulk.
Names aren't checked for duplicates, so search the list before you add a country, state or city.
Thanks. That helps us decide what to write next.
Thanks for telling us what was missing.
You already answered for this article today. Thanks.
We got a lot of answers from your network just now. Try again in a few minutes.
We couldn't send that. Check your connection and try again.
Links in this article
Printed from help.bsscn.com. The online article may have changed since.