Manage static fields and their options
Static fields are the fixed lists of choices that dropdowns across Laramin use. Add a field, add and order its options, and choose the option that is selected by default.
- Applies to
- Core 12.0 and later
- Who can do this
- Administrator, Platform owner
- Permission
feature.core. static_option. create - Where
- Configurations › Master Settings › Static Fields
On this page
Before you start
- A static field is a named list of choices, such as a set of categories. Its options are the choices themselves. Dropdowns in Core and in modules read their choices from these lists.
- Permissions come in two sets:
feature.for fields andcore. static_field. * feature.for options, each withcore. static_option. * list,view,create,editanddelete. - The list only shows fields that belong to Core or to a module that is turned on.
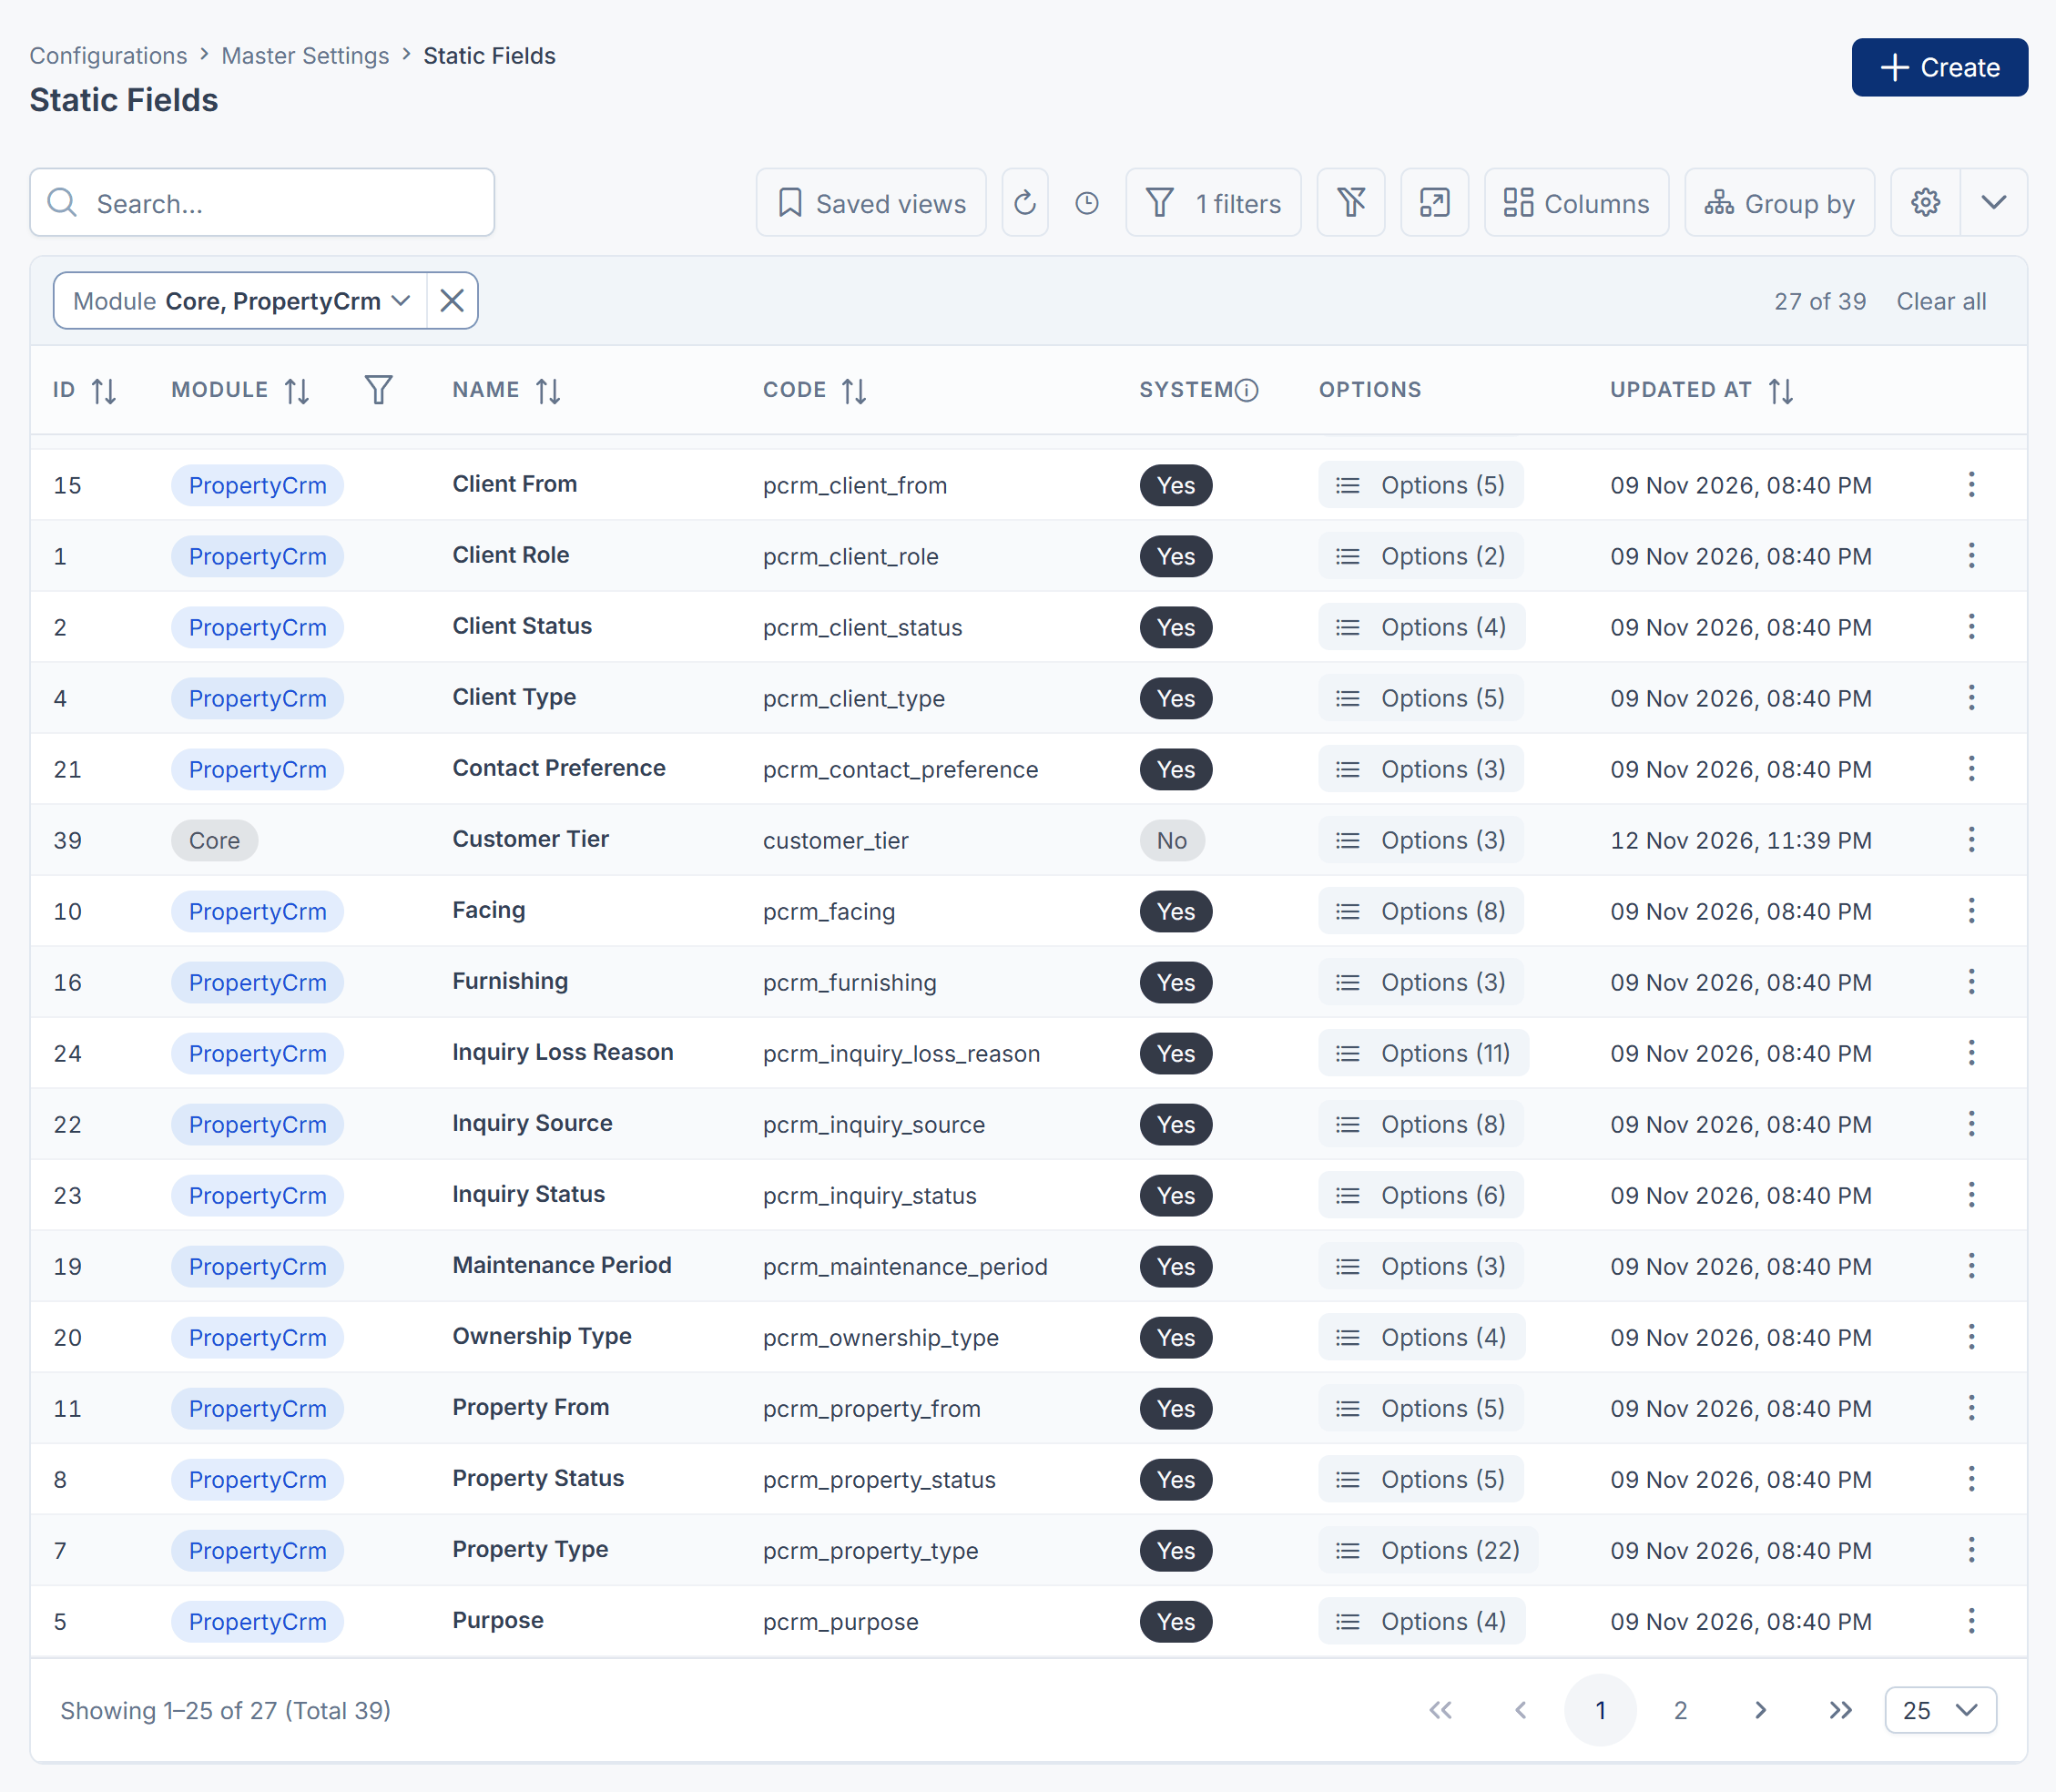
Add a static field
-
Open Configurations › Master Settings › Static Fields.
-
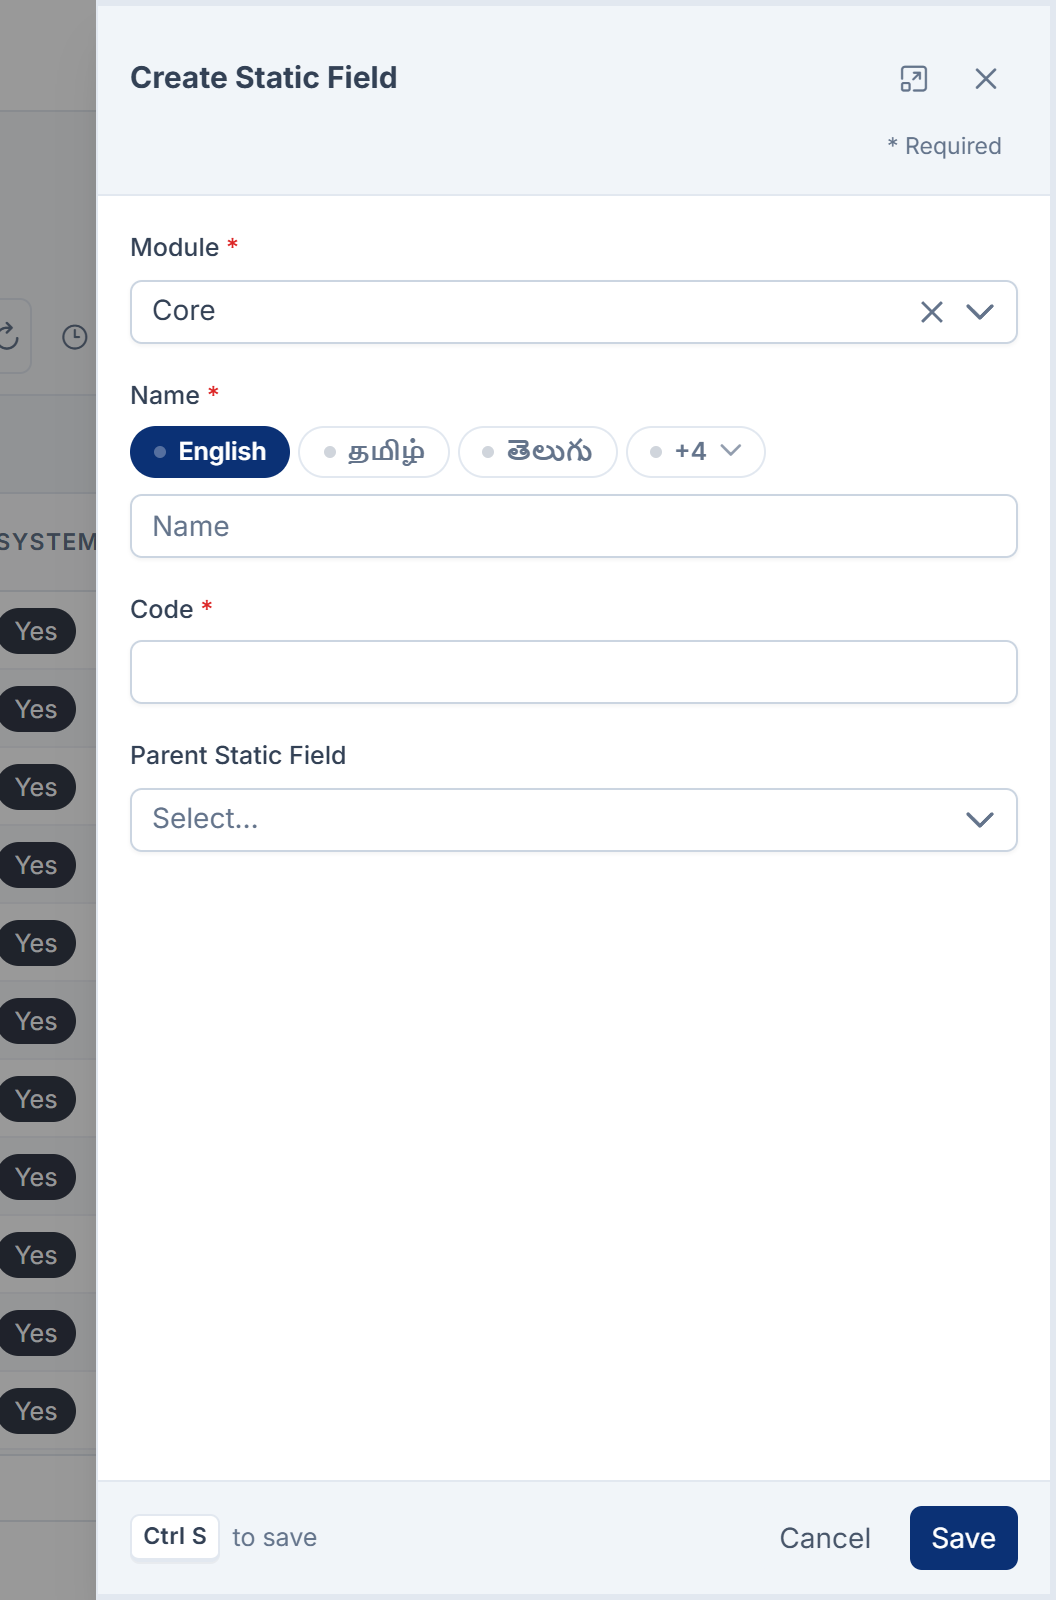
Select Create. The Create Static Field drawer opens.
-
Choose the Module the field belongs to.
-
Enter a Name. You can enter it in each of your languages.
-
Enter a Code. It must be unique, and you can't change it later.
-
Optional: choose a Parent Static Field to make this field depend on another one. For example, an amenity list can depend on a property category list.
-
Select Save.
Add options to a field
-
In the field's row, select Options (n). The Options page for that field opens. A chip shows the module that manages it.
-
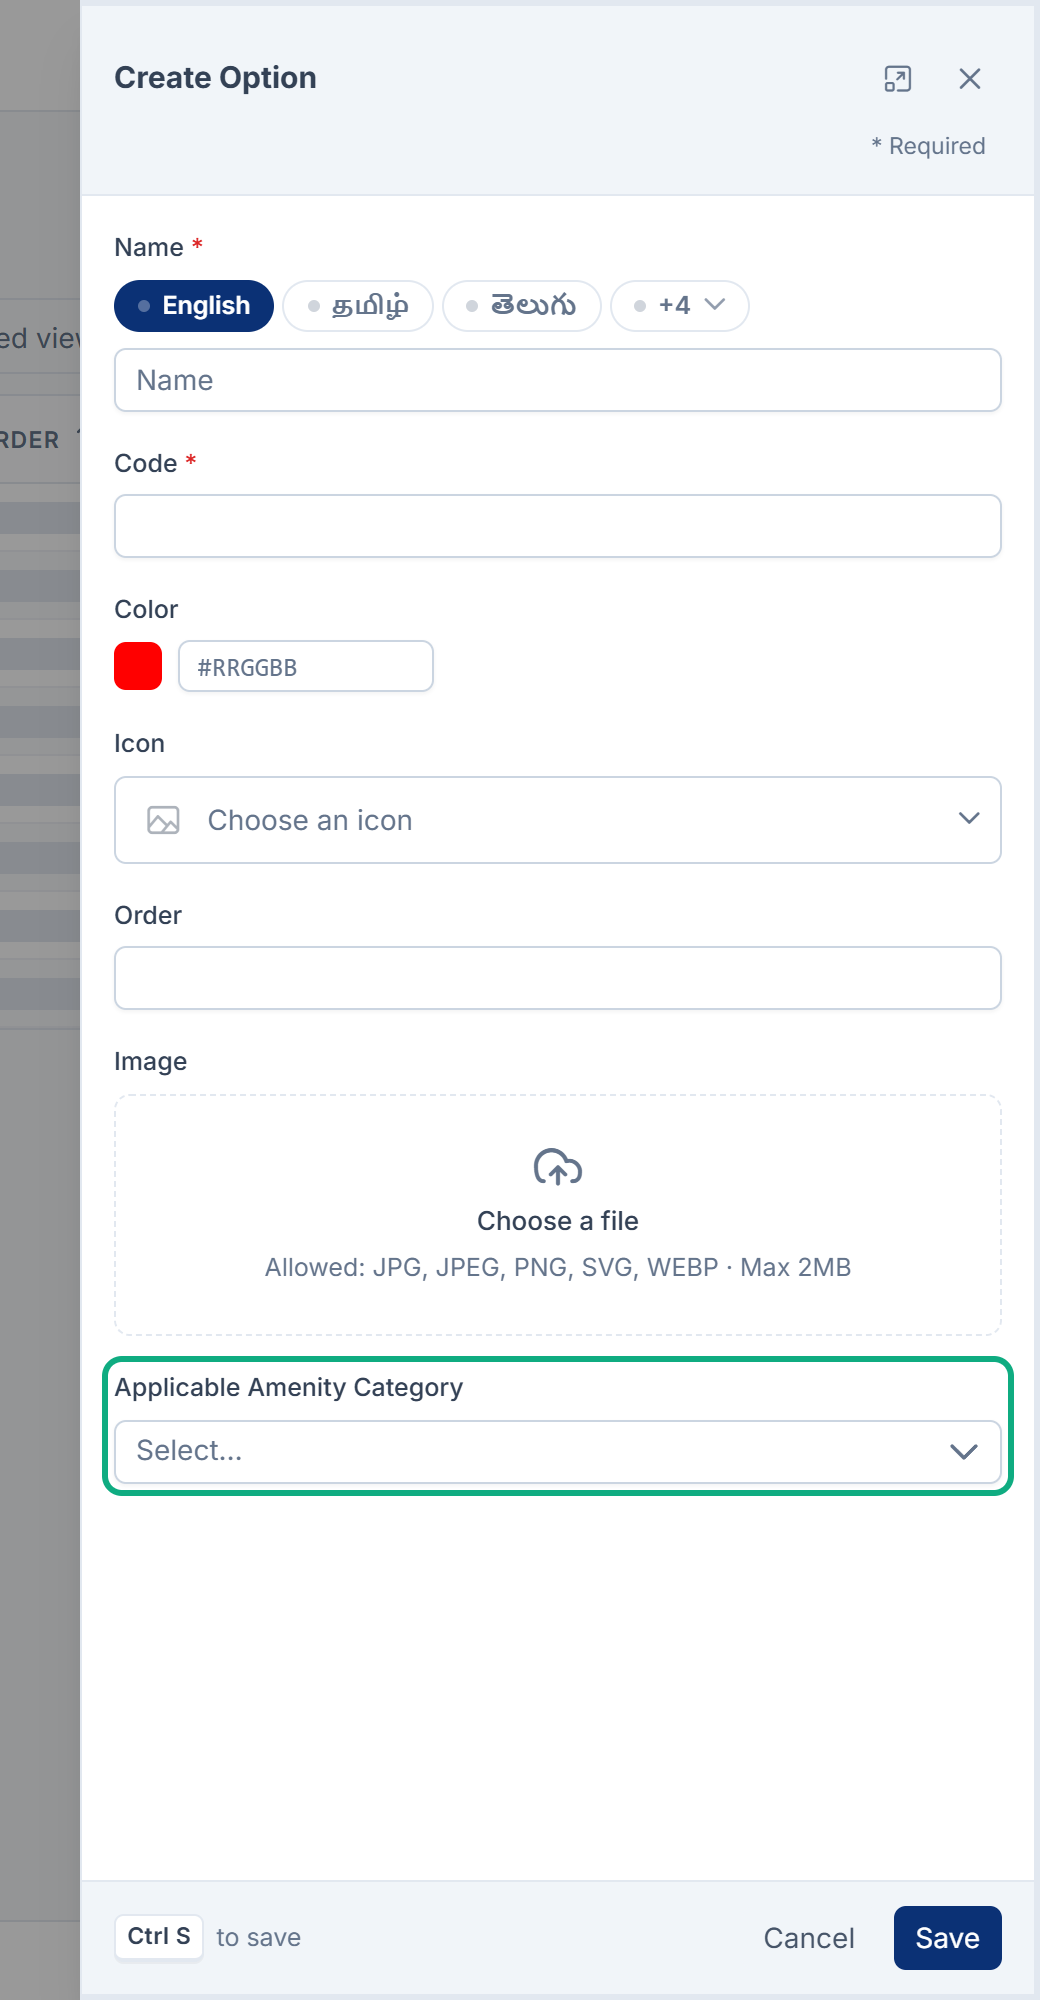
Select Create. The Create Option drawer opens.
-
Enter a Name and a Code. The code must be unique across every option of every field, and you can't change it later.
-
Optional: set a Color, an Icon and an Image. The image can be jpg, jpeg, png, svg or webp, up to 2 MB.
-
If the field has a parent, choose the parent options this option applies to, in Applicable parent field name.
-
Select Save.
To add a similar option quickly, open an option's … menu and select Duplicate.
Put the options in order
Drag a row by its handle to a new position. With the keyboard, focus the handle and press Alt+↑ or Alt+↓, or use Move up and Move down. You see Order updated.
You can also type a number in the Order column. See Edit a value directly in a list.
Choose the default option
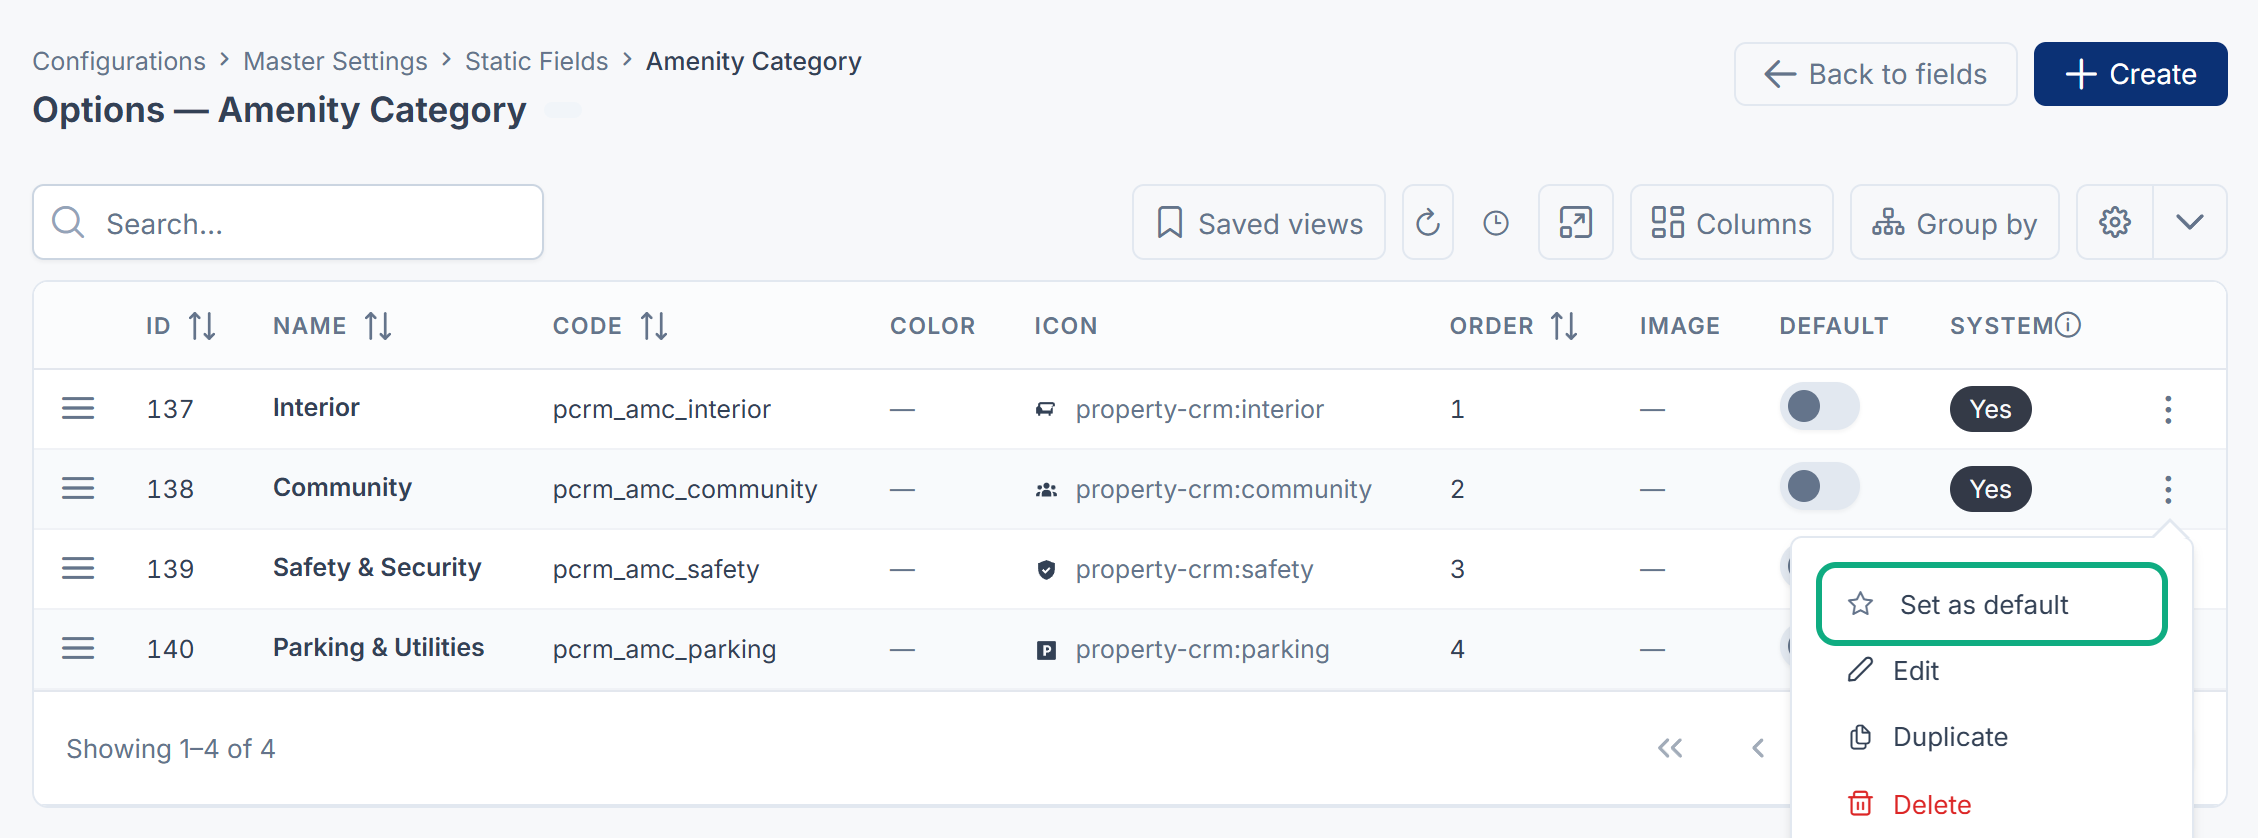
The option is marked in the Default column, and the field's previous default is unmarked. Setting a default needs feature..
What happens next
Dropdowns that use the field offer the new options straight away, in the order you set, with the default preselected.
You can't delete an option while it's the default, or if it's a system option. To delete one you added, open its … menu and select Delete. Deleting a field or an option is permanent: there's no trash for them.
To go back to the list of fields, select Back to fields.
Thanks. That helps us decide what to write next.
Thanks for telling us what was missing.
You already answered for this article today. Thanks.
We got a lot of answers from your network just now. Try again in a few minutes.
We couldn't send that. Check your connection and try again.
Links in this article
Printed from help.bsscn.com. The online article may have changed since.