Share work through a queue and claim a task
Set up a queue for a team, choose who may claim from it, send tasks to it, and claim the next task as a member.
- Applies to
- Activities 3.1 and later
- Who can do this
- Team member, Administrator
- Permission
feature.act. queue. claim - Where
- Activities › Queues
On this page
Before you start
- To set up a queue, you need Create Queue (
feature.). To add members, you need Edit Queue (act. queue. create feature.).act. queue.edit - To claim from a queue, you need Claim Queue (
feature.), and you must be a member of that queue with May claim set to Yes. Super admins can claim from any queue.act. queue. claim - A queue belongs to the workspace it's created in. Its members must be members of that workspace, and only tasks in that workspace can go into it.
Steps
Set up the queue (administrators)
-
In the sidebar, open Activities › Queues.
-
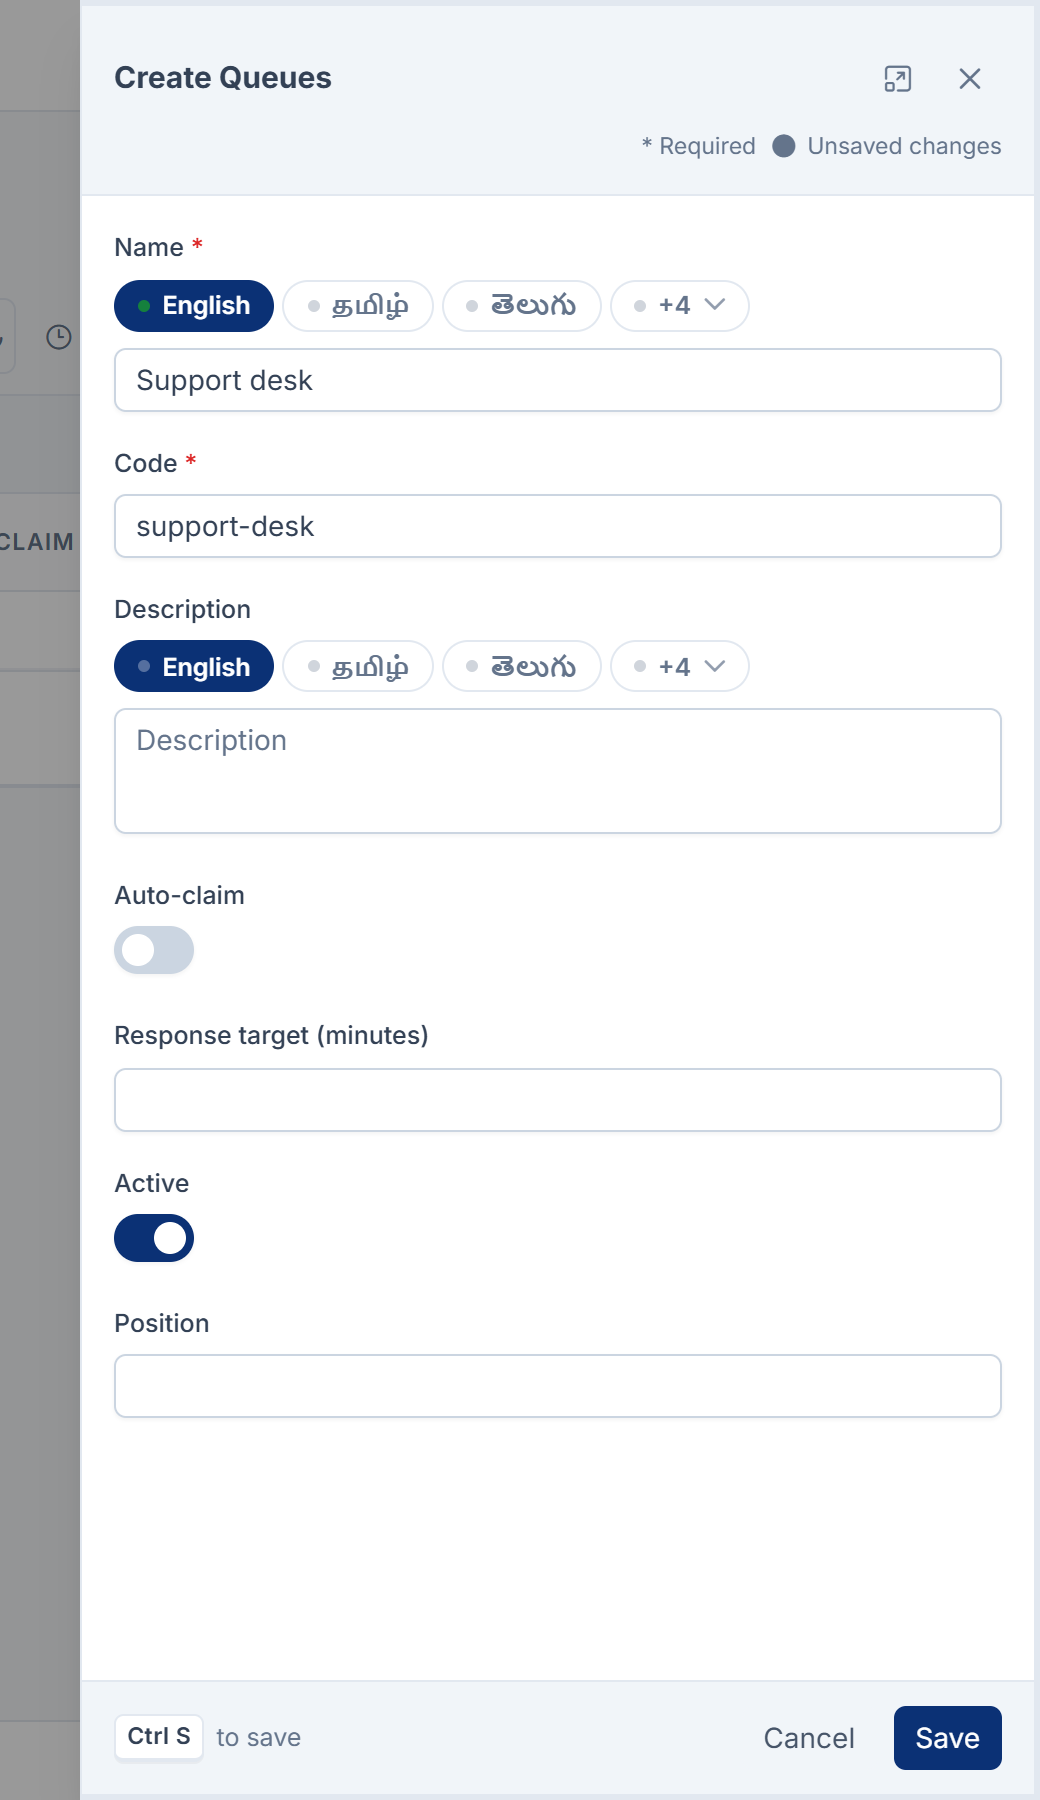
Select New Queue.
-
Enter a Name, for example "Support desk".
-
Enter a Code, for example
support-desk. Use lowercase letters, numbers, hyphens and underscores only. You can't change the code later. -
Optionally, add a Description.
-
Leave Active turned on.
-
Select Save.
Auto-claim is saved with the queue, but nothing acts on it: a task in the queue waits until a member claims it. Response target (minutes) isn't saved at all; the field is empty again when you reopen the queue.
Add members
-
In the queue's row actions menu, select Members.
-
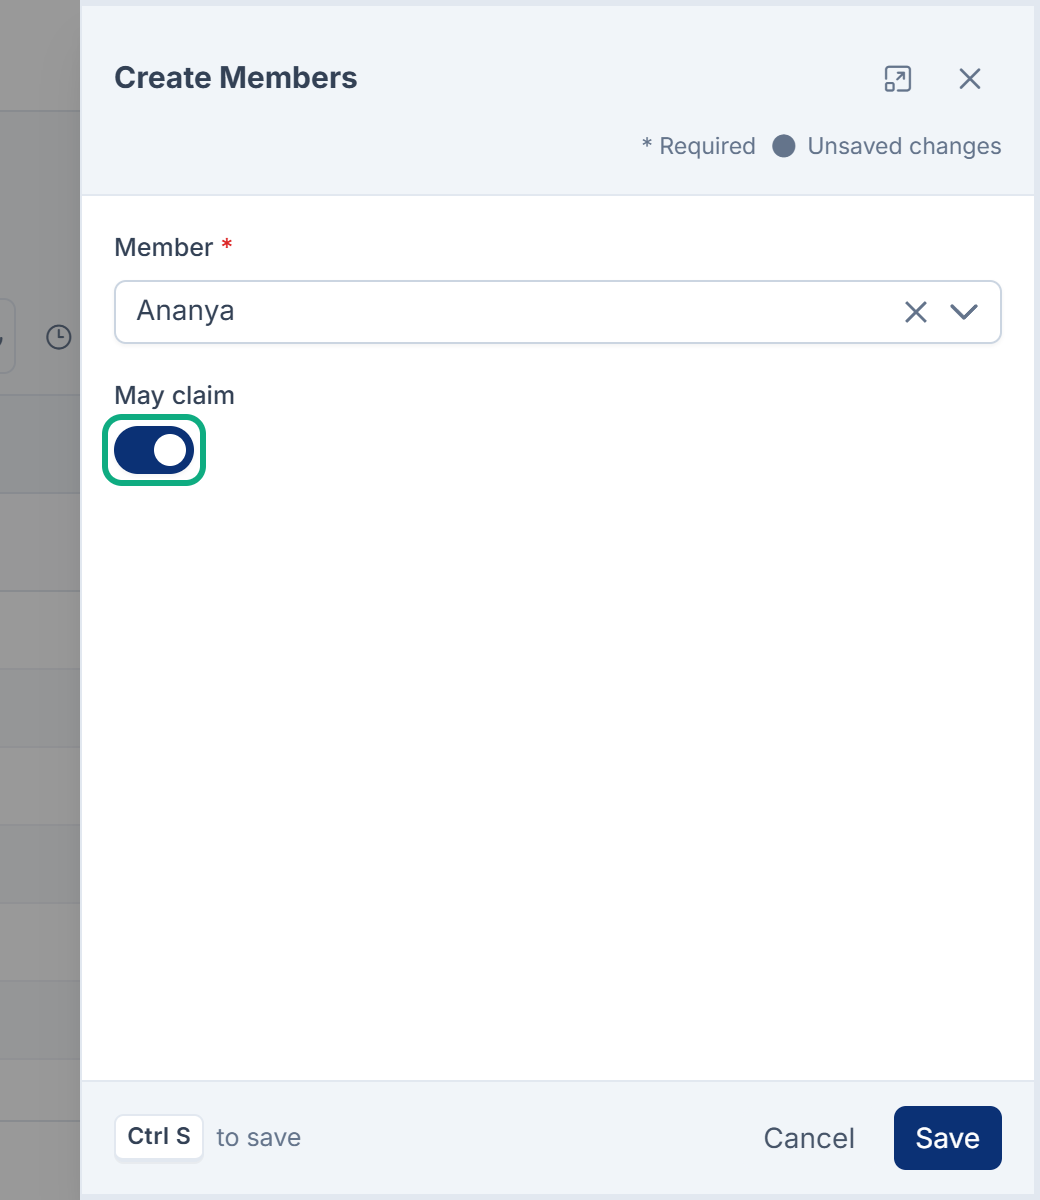
Select New Member.
-
In Member, choose the person.
-
Set May claim to Yes if they should take work from the queue.
-
Select Save.
If the person isn't in the queue's workspace, you see Add this person to the workspace before adding them to its queue.
Send a task to the queue
When you create a task, choose the queue in Queue, under Assignment, and leave Assigned to empty. See Create a task and set a reminder.
To move an existing task, you need Assign Task (feature.):
-
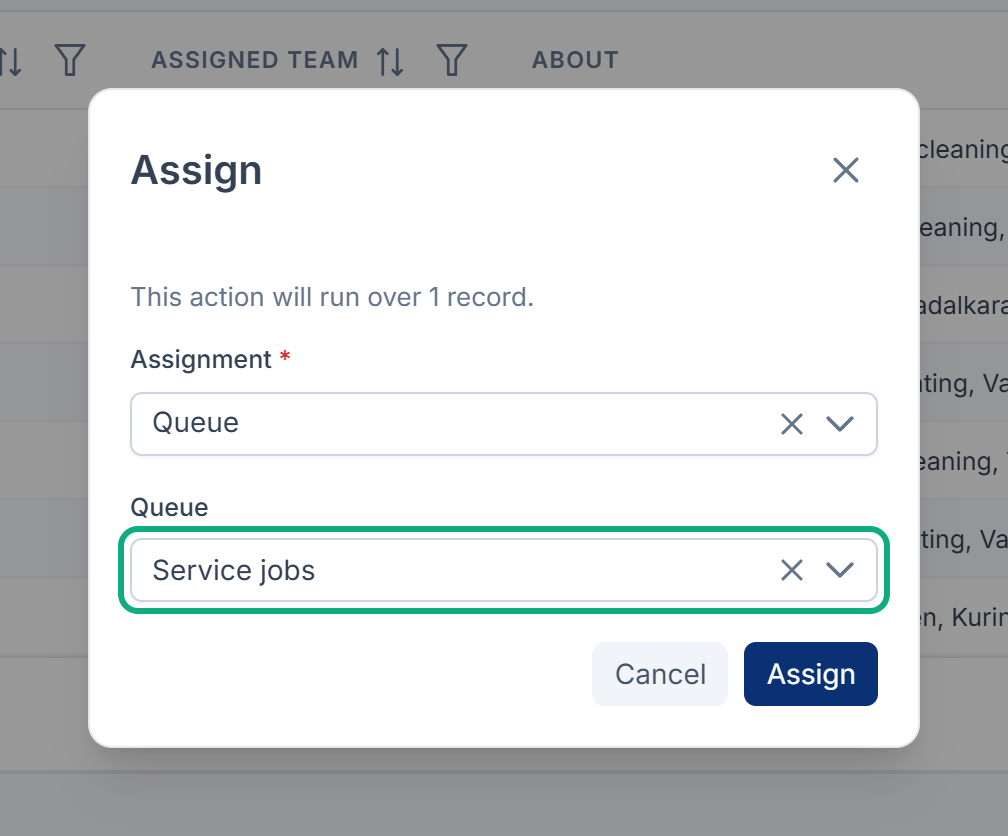
On Activities › Tasks, open the task's row actions menu and select Assign.
-
In Assignment, choose Queue.
-
In Queue, choose the queue.
-
Select Assign.
Moving a task into a queue removes its assignee, so the next member who claims it gets it.
Claim a task (members)
-
In the sidebar, open Activities › Tasks.
-
Filter the list by Queue to see the queue's tasks.
-
Select a task to open it.
-
Select Claim.

The task is now assigned to you, and the main button changes to Complete. You can also claim straight from the list: open the task's row actions menu and select Claim.
If someone else claimed the task a moment before you, you see a message such as Priya claimed this first — you have been given the next task in the queue. The next task is the one with the highest priority, then the earliest due date.
What happens next
-
To hand a task back, open More actions in the task and select Release. You see Released back to the queue. The task loses its assignee, and any member can claim it. You need Release Queue (
feature.), and you can only release a task you claimed yourself.act. queue. release -
To remove someone from the queue, open Members and delete their row. Set May claim to No to keep them in the queue without letting them claim.
Thanks. That helps us decide what to write next.
Thanks for telling us what was missing.
You already answered for this article today. Thanks.
We got a lot of answers from your network just now. Try again in a few minutes.
We couldn't send that. Check your connection and try again.
Links in this article
Printed from help.bsscn.com. The online article may have changed since.