Build an onboarding flow
Create the slides your app shows people on first run: set up a flow, choose who sees it and when, add slides with text, an image, video or animation and a button, put them in order, and publish.
- Applies to
- Core Mobile 2.0 and later
- Who can do this
- Platform owner
- Permission
feature.cm. onboarding.edit - Where
- Core Mobile › Onboarding (Platform Administration)
On this page
An onboarding flow is a set of slides the app shows on first run, such as a welcome, what the app does and how to get started. You can have several flows, for example one per platform or one for a new app version. Each app gets one: the matching flow with the highest Priority.
Before you start
- You need Create Onboarding and Edit Onboarding (
feature.,cm. onboarding. create feature.).cm. onboarding.edit - To show the flow to some people only, create the audience first. See Show content to an audience.
- Core Mobile comes with a published example flow, Laramin Welcome. Archive or change it so it doesn't compete with yours.
Create the flow
-
In the Platform Administration sidebar, select Core Mobile › Onboarding.
-
Select Create.
-
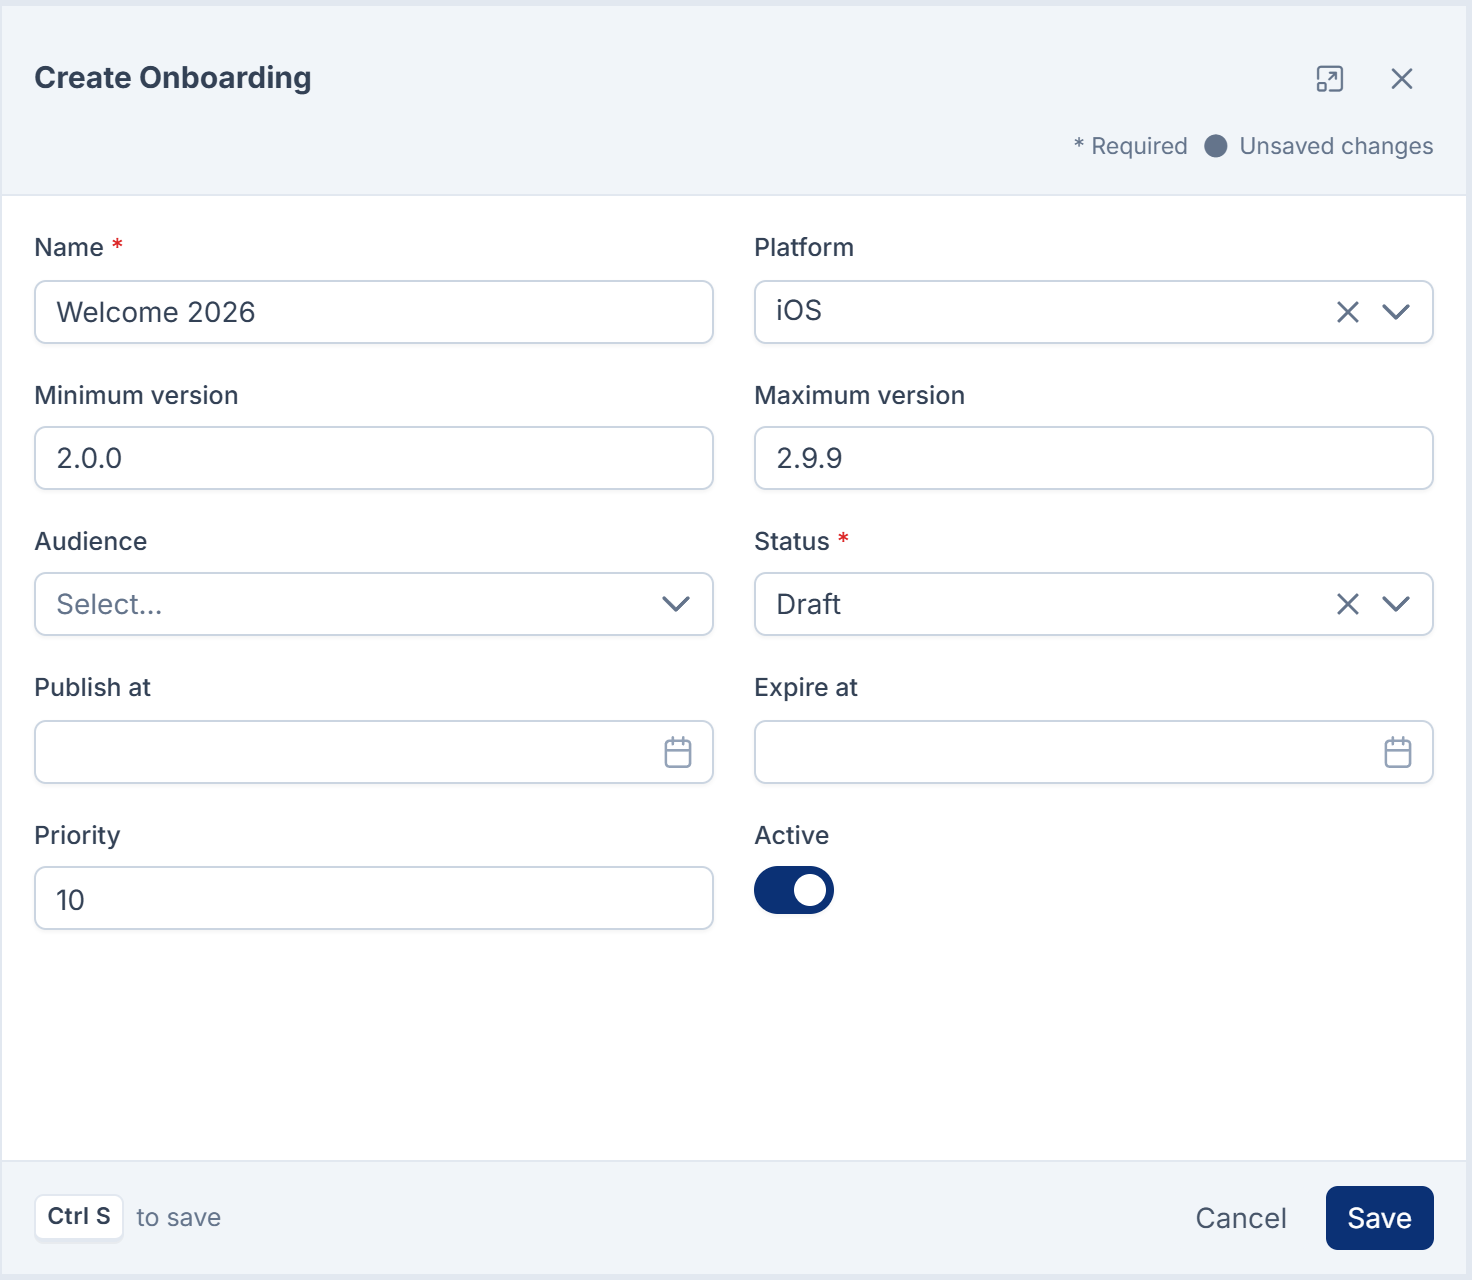
Enter a Name for your team, such as
Welcome 2026. -
Choose who gets it:
- Platform: iOS, Android, Web, or empty for all platforms.
- Minimum version and Maximum version: optional app versions, such as
2.0.0. Leave them empty for every version. - Audience: optional.
-
Set Status to Draft while you build it.
-
Set Priority. When several flows match an app, the highest number wins.
-
Leave Active on.
-
Select Save.
You see, for example, 'Flow "Welcome 2026" saved.'
Add the slides
-
On the flow's row, select Manage slides. The Slides screen for the flow opens, with a phone preview.
-
Select Add Slide.
-
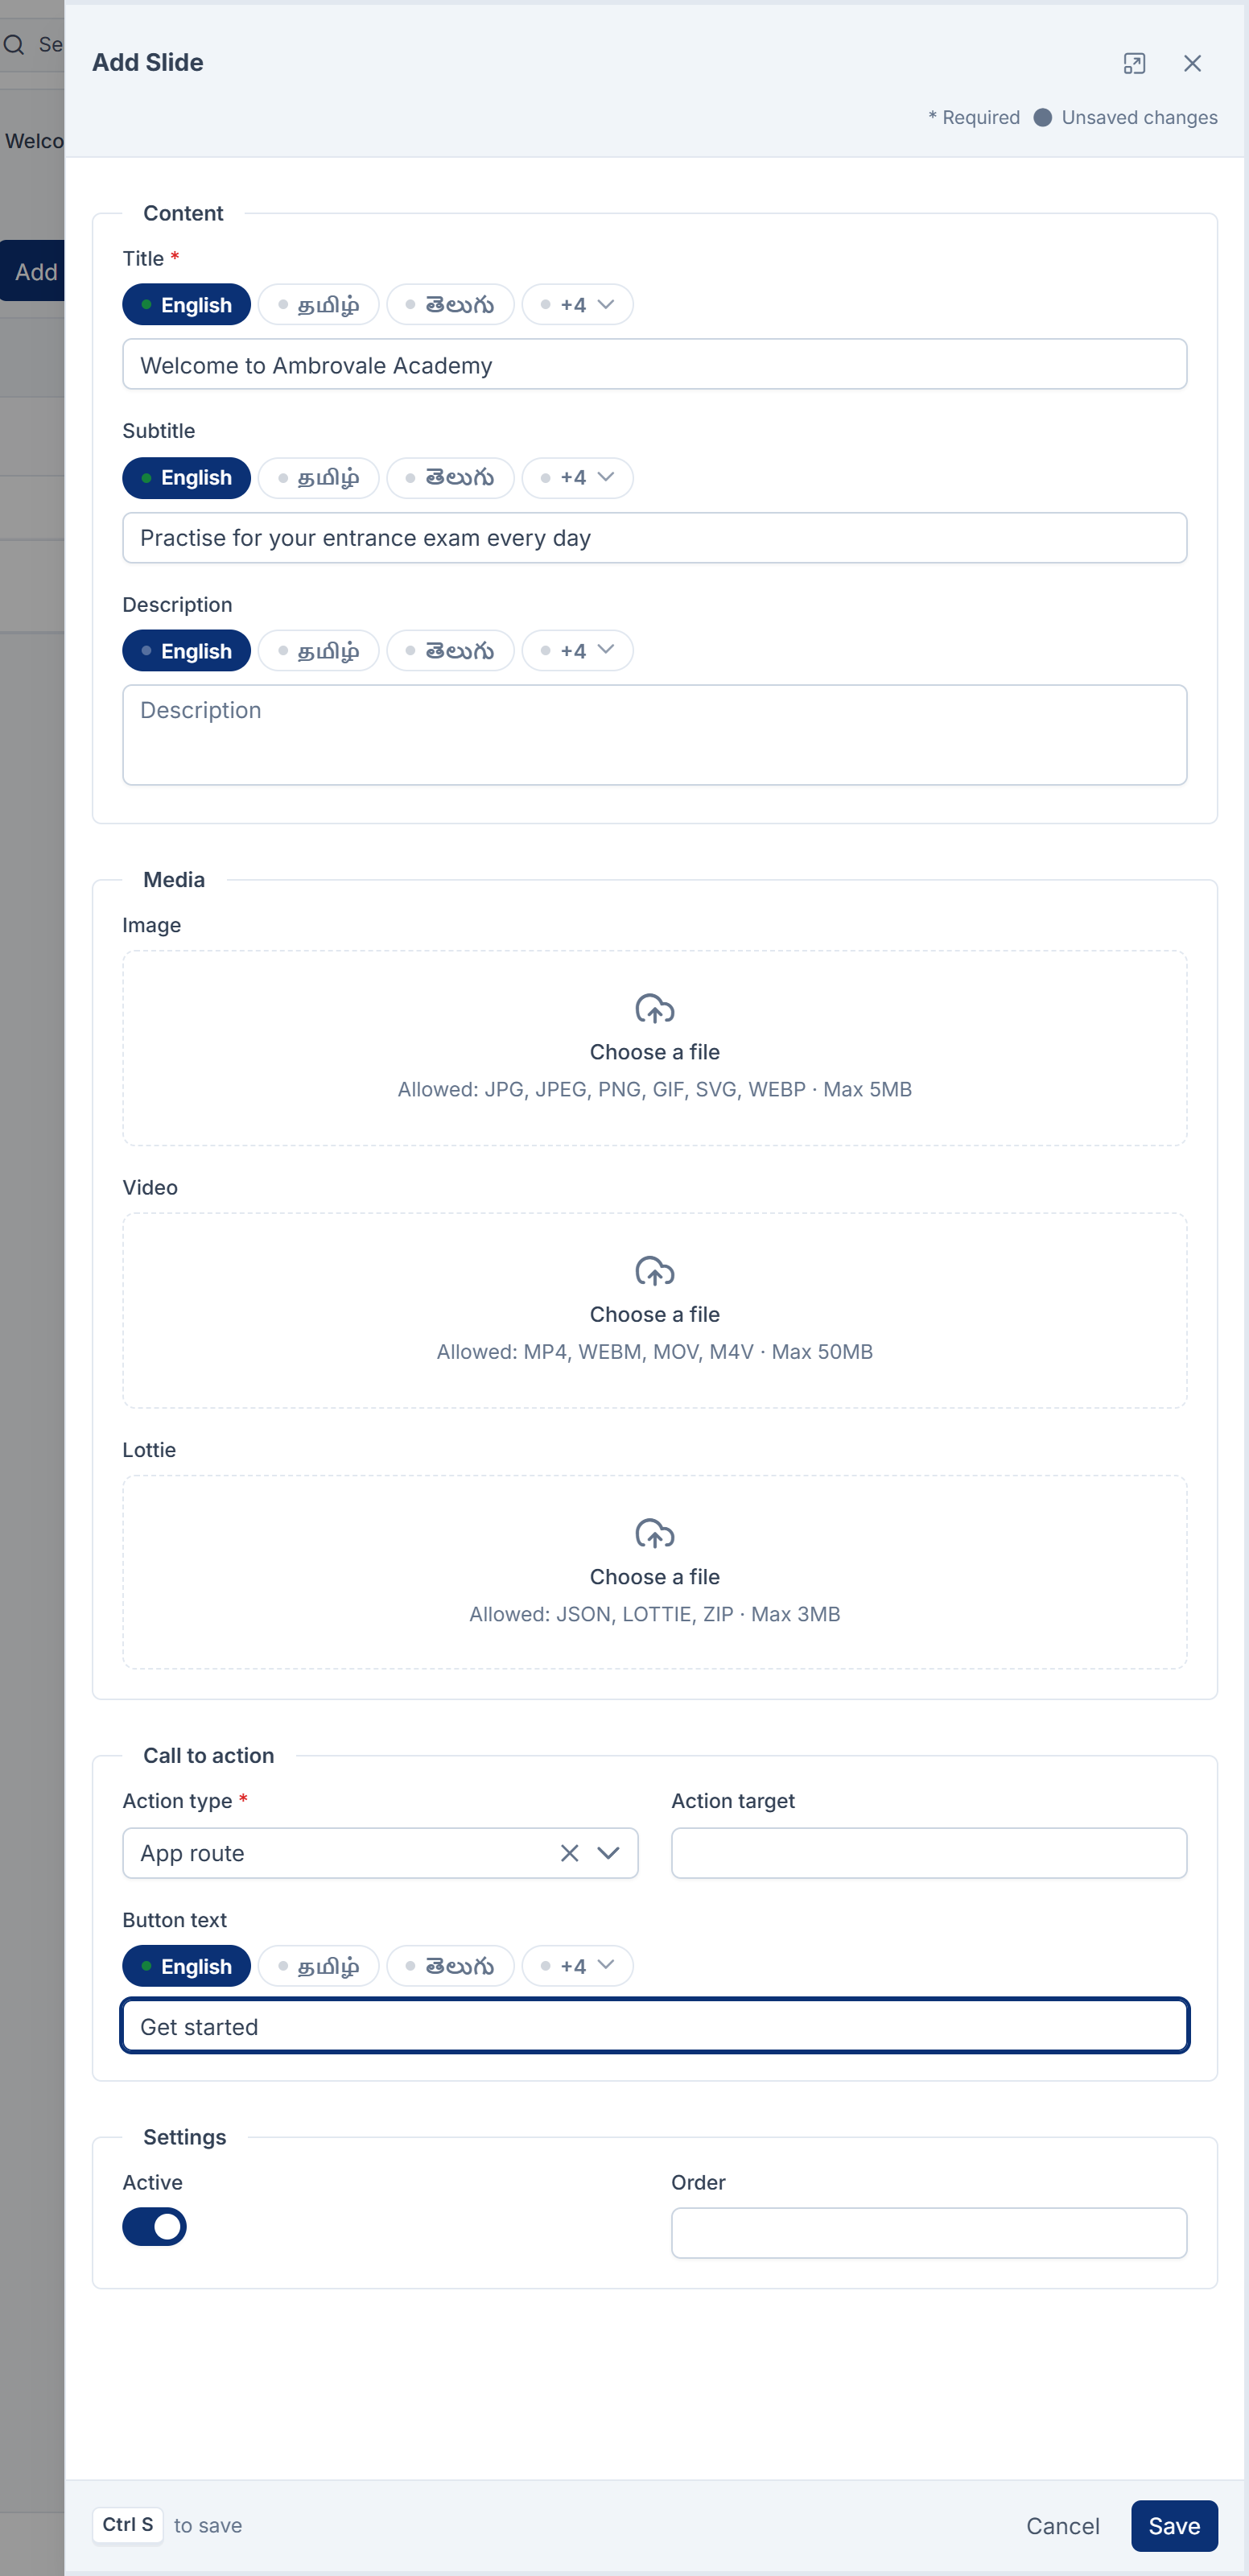
Under Content, enter the Title, and optionally a Subtitle and Description. You can enter each of them in each language your Laramin uses: the app gets the text in its language, or your default language when there's no translation.
-
Under Media, add an Image, a Video or a Lottie animation file.
-
Under Call to action, choose the Action type:
Action type What the button does Action target None No button. URL Opens a web page. A full web address. External link Opens a page outside the app. A full web address. Deep link Opens a link your app handles. Such as myapp://offers.App route Opens a screen in the app. The screen's route, as your app names it. Then enter the Button text, such as
Get started. -
Under Settings, leave Active on.
-
Select Save.
Repeat for each slide. Drag the slides to put them in order, or set each one's Order. Use the preview's arrows to step through them as the app would.
Publish the flow
-
Back on Core Mobile › Onboarding, open the flow's actions menu and select Edit.
-
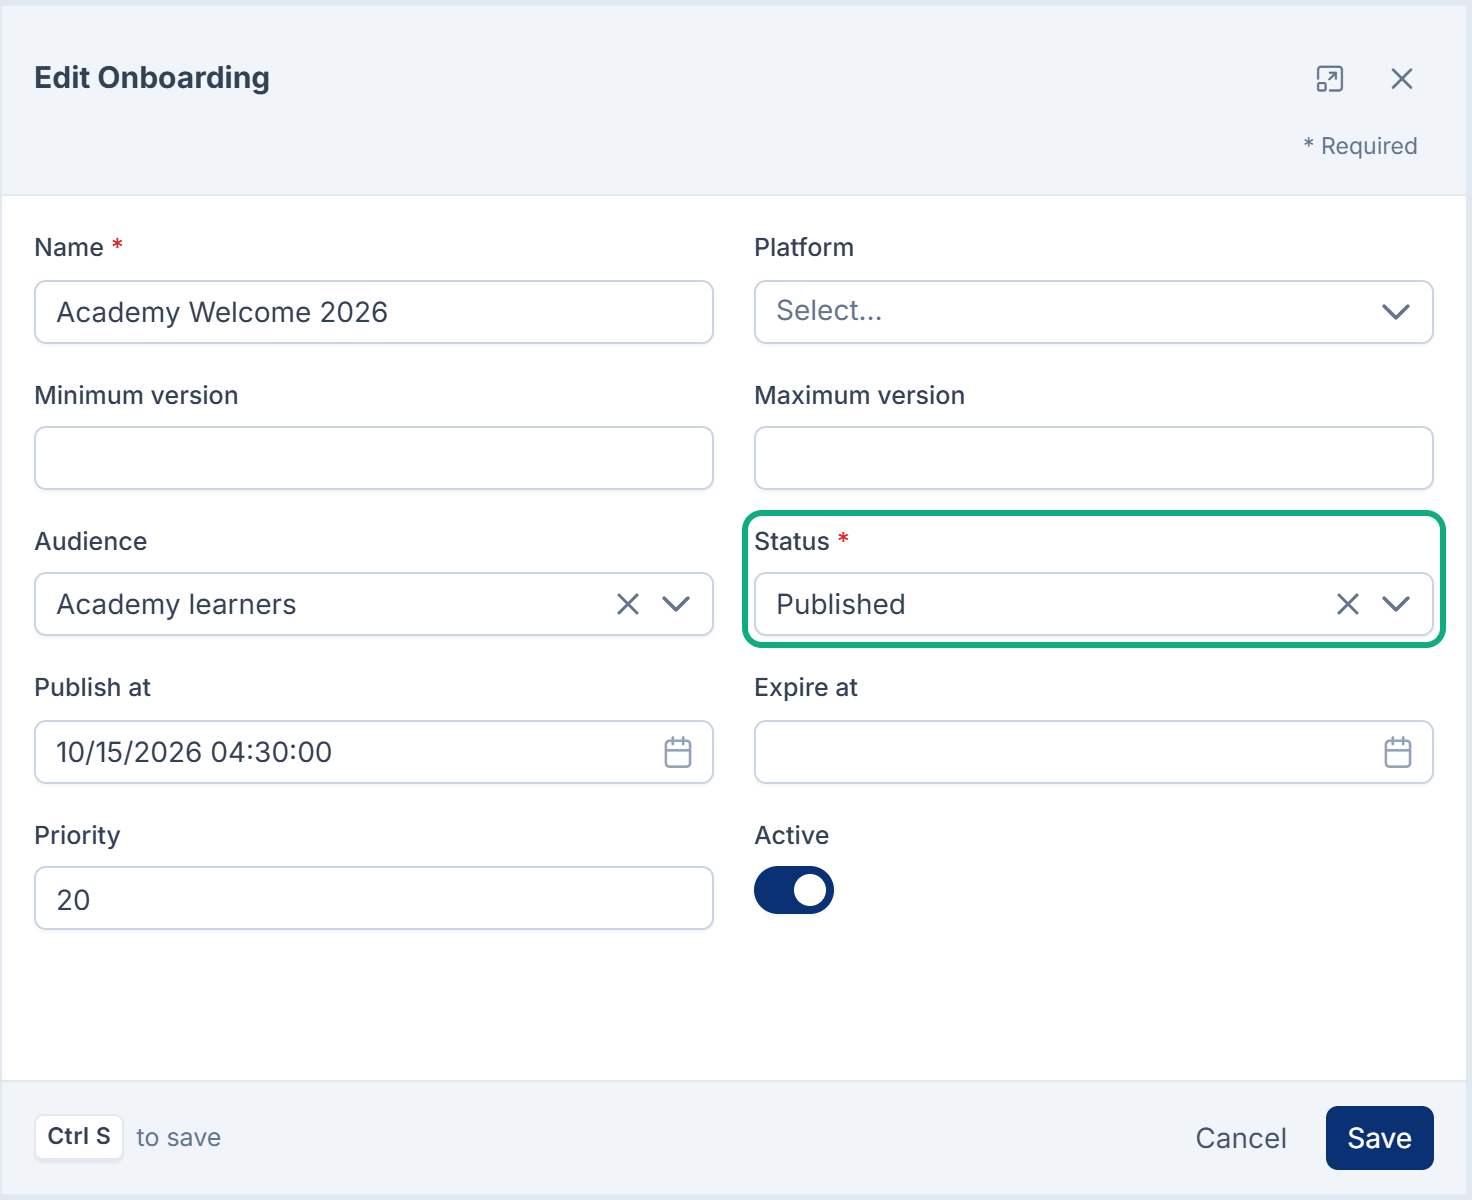
Set Status to Published.
-
Optional: set Publish at to start it later, and Expire at to stop it. Expire at must be after Publish at.
-
Select Save.
The next app that matches gets the flow, as long as it has at least one active slide.
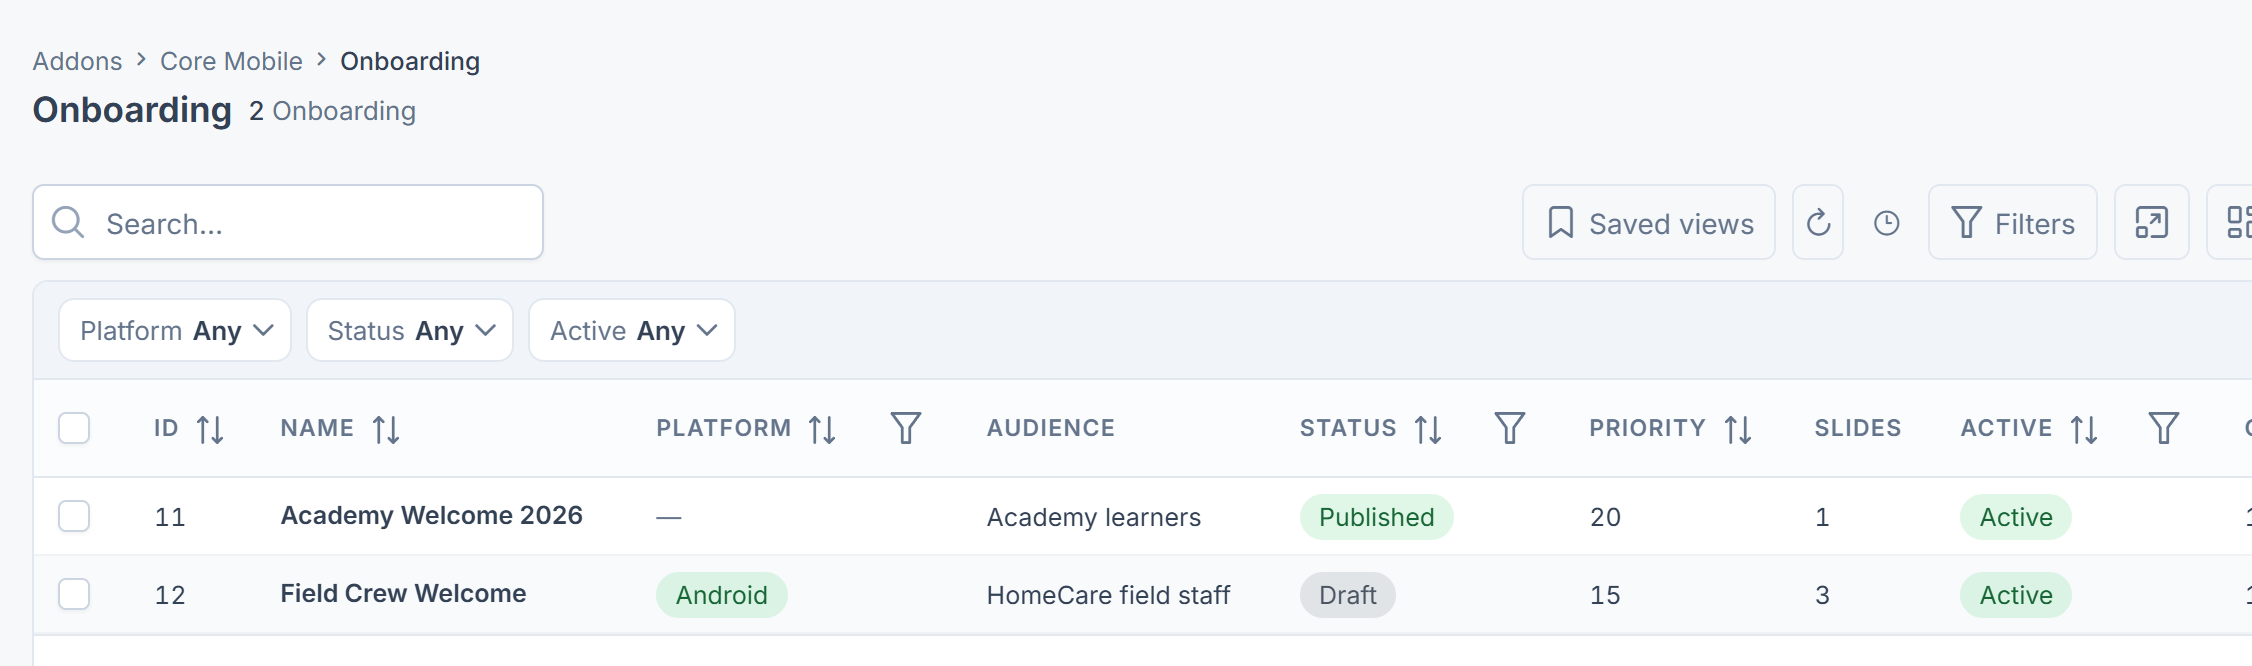
Careful: To start a flow later, use Published with a future Publish at. In Core Mobile 2.1.0, a flow set to Scheduled is never sent, even after its Publish at time.
To retire a flow, set it to Archived. Your app gets the next matching flow, or none.
If the app doesn't show it
Common causes: the flow isn't Published, its window hasn't started or has ended, it has no active slides, a higher-priority flow matches first, the app doesn't send its version while the flow has a version limit, or its audience is switched off. See The app doesn't show your changes.
Thanks. That helps us decide what to write next.
Thanks for telling us what was missing.
You already answered for this article today. Thanks.
We got a lot of answers from your network just now. Try again in a few minutes.
We couldn't send that. Check your connection and try again.
Links in this article
Printed from help.bsscn.com. The online article may have changed since.